Formatting Drives
-
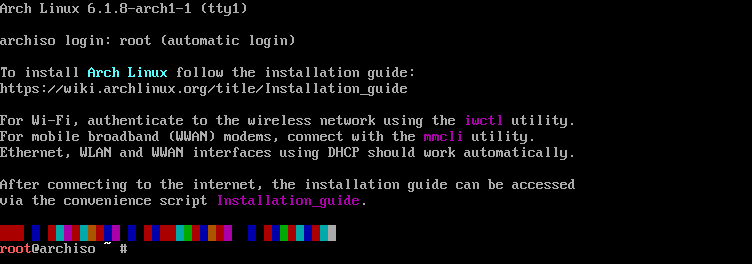
You should now be inside the Arch shell. Below is a screenshot of what it looks like.
-
With the command below, you can list all currently attached drives. In that list, there should at least be your main Hard Drive and your Flash Drive
 root@archiso ~ # lsblk
 NAME   MAJ:MIN RM   SIZE RO TYPE MOUNTPOINTS
 loop0    7:0    0 710.1M  1 loop /run/archiso/airootfs
 sr0     11:0    1 824.3M  0 rom
 vda    254:0    0    20G  0 disk
In my case, my Hard Drive I'll be installing Arch to is
vdabecause I am in a Virtual Machine. Yours might be calledsda,nvme0n1porhda, depending on if you've installed an SSD, an NVME SSD or an HDD respectively. -
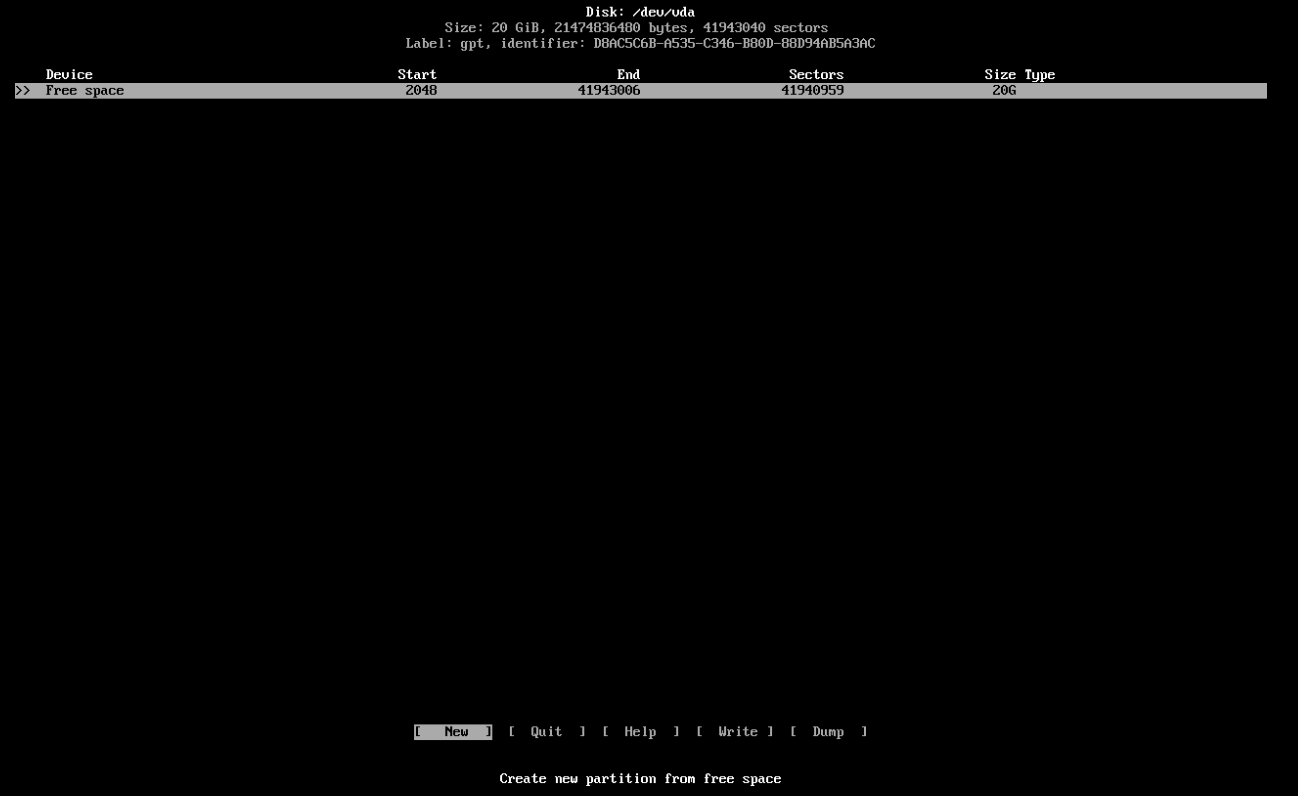
We are now going to format this drive using
cfdisk. You can also format your drive withfdisk, butcfdiskhas a simple to navigate interface.root@archiso ~ # cfdisk /dev/vda- You're now going to be met with the following options, if your Hard Disk is empty. This will not show up if you've already partitioned your drive, like if you're coming from Windows.

Here, choosegpt(GUID Partition Table) for drives bigger than 2 TB and machines using UEFI anddos(Master Boot Record) otherwise. Once you come to this screen, you can skip the next step.
- If you come from another operating systems, you're going to have a few entires here. You can either remove all the partitions, or create new ones to install Arch into. To remove partitions, scroll to the delete option and hit enter for each partition you'd like to delete.

- Once you've got an empty slate, we can start creating all the necessary partitions. Create them in the order and sizes shown below, where [RAM] is your RAM capacity and [Size] is your remaining hard drive space.
Partition Size | Boot | 100M | | Swap | 0.5*[RAM] | | Root | [Size] |
Tip: You can also create a Home partition now, if you want to be able to change distros without deleting your user data
Your Partitions should look something similar to this:

- Once you're done partitioning your drive, you can go over to the Write option, hit enter, and confirm the partitioning process by typing
yes. Then you can quit out ofcfdisk.
Danger! This process will permanently delete any partitions you chose to delete.
Double check your partitioning scheme, so that you do not delete important data.
- You're now going to be met with the following options, if your Hard Disk is empty. This will not show up if you've already partitioned your drive, like if you're coming from Windows.


-
We can now properly format the drives. For that, we need to know how the new partitions are called. Run
lsblkagain. In the guide above, we created the partitions like in the table below, andlsblkreflects that.Partition Size Partition | Boot | 100M | /dev/vda1 | | Swap | 0.5*[RAM] | /dev/vda2 | | Root | [Size] | /dev/vda3 |
- Let's first format the boot and root partitions with the following commands. Note that the boot partition has to be in FAT32, otherwise it wont be recognised:
#==> Important: replace /dev/vda with your drive!
root@archiso ~ # mkfs.fat -F 32 /dev/vda1
root@archiso ~ # mkfs.ext4 /dev/vda3
Note: You can also format your root partition to be in the BTRFS format, which allows snapshots.
Just replace ext4 with btrfs in the command above. - Formatting the swap partition is a little different:
#==> Important: replace /dev/vda with your drive!
root@archiso ~ # mkswap /dev/vda2
- Let's first format the boot and root partitions with the following commands. Note that the boot partition has to be in FAT32, otherwise it wont be recognised: